© Revolution 2024 designed by WaterMelon

LURE OF THE TEMPTRESS

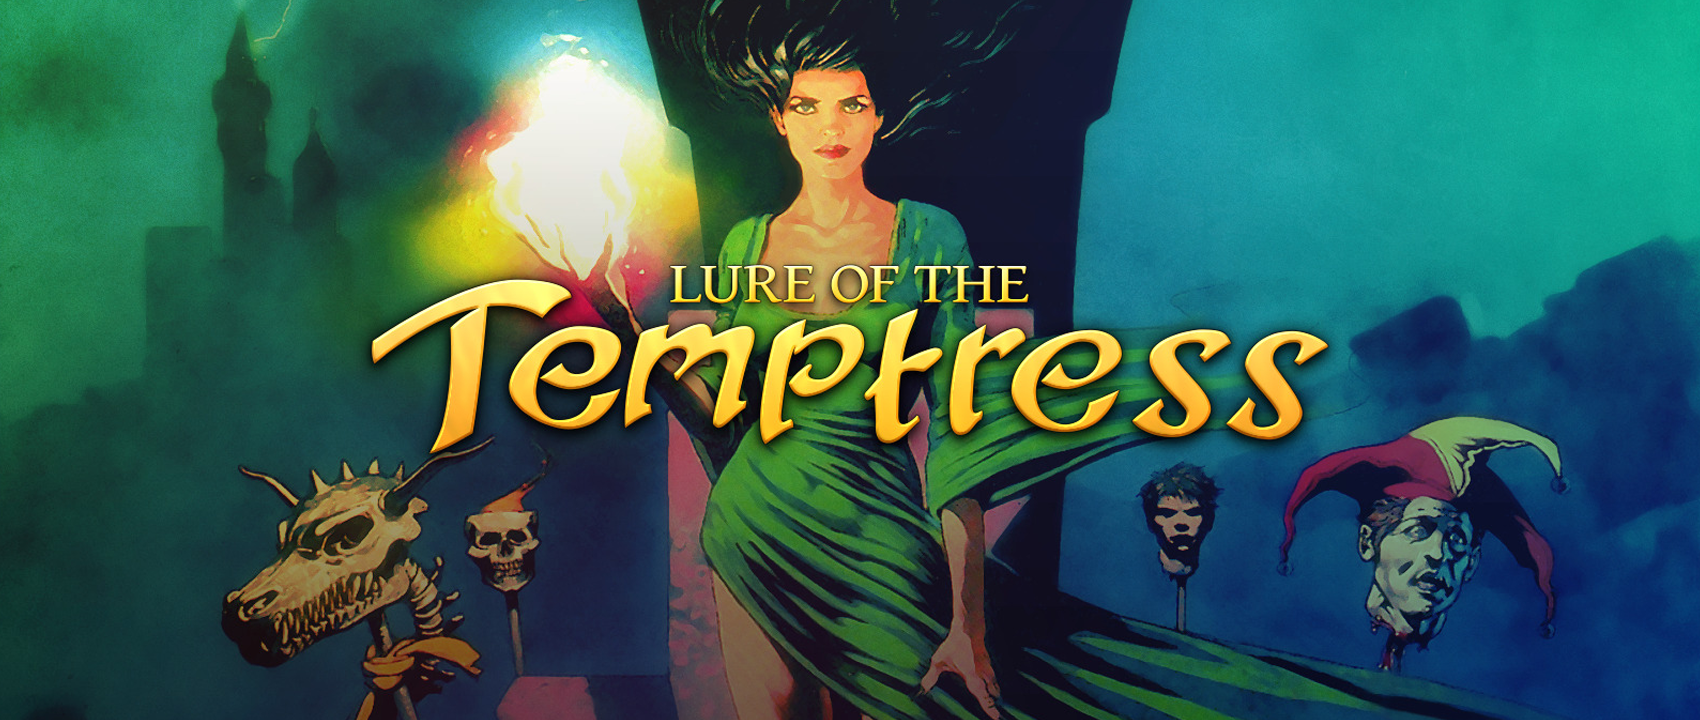
Trouble is afoot in the once peaceful land of Turnvale.
Vicious mercenaries, known as the Skori Warriors, are under the control of the mysterious Temptress.
But who is the Temptress, and more importantly, where is she..?

Version details

Game Release: 1992

Press kit

Find out more

System Requirements

Windows 10 & older

Processor: 1 GHz
Memory: 256 MB RAM
Graphics: any
DirectX: DirectX 9
Storage: 25 MB

Additional Notes:
Powered by ScummVM

Linux Ubuntu 14.04 & Mint 17

Processor: 1.4 GHz
Memory: 512 MB RAM
Graphics: 128 MB VRAM
Storage: 25 MB

Additional Notes:
Powered by ScummVM

macOS X 10.6.8 & later

Processor: Intel Core Duo 2GHz+
Memory: 1 GB RAM
Graphics: 64MB of video memory
Storage: 25 MB

Additional Notes:
Powered by ScummVM

When coming up with the title "Lure Of The Temptress" we ran into 2 problems: Firstly there wasn't any luring and secondly there was no temptress.. So naturally we reverse engineered the entire game."

– Charles Cecil | CEO & Director

Support

CONFUSED, STUCK, FRUSTRATED?

  Get in touch: [email protected]
  Chat with us on Discord
  Or leave a quick message here:


    ABOUT THE GAME

    One of the most revolutionary games at its time and the first in a series of ‘Virtual Theatre’ adventure games:
    Non-playable characters will walk around and perform different actions regardless of your interaction with them.

    A variety of options and commands:
    Give orders to a supporting character to solve puzzles

    An intuitive point and click system:
    Everything you need to do – moving, talking, searching, and fighting –  is controlled via mouse.
    It’s all you need to explore over 60 scenes and more than 25 intriguing characters you can interact with,

    ..and of course, Selena – the Temptress!

    • A captivating story set in grim, medieval times
    • The old-school feel of a classic adventure game
    • Many interesting characters that move about freely and live out their own lives, thanks to the ground-breaking Virtual Theatre system


    UNDERSTANDING SCUMMVM

    Lure of the Temptress is possible to run on contemporary setups with the help of ScummVM.
    ScummVM is a software that allows you to boot older classic graphic point-and-click adventure games, text adventure games, and RPGs by replacing the executable files shipped with the games. This of course works for a lot of older games, not just Lure of The Temptress.ScummVM stands for Script Creation Utility for Maniac Mansion Virtual Machine, and one of their founders is Joost Peters who now works as our Tech-lead at Revolution Software.
    If you’ve never used before, don’t worry! It’s very self-explanatory but we’ll still link to some more info:


    VIRTUAL THEATRE

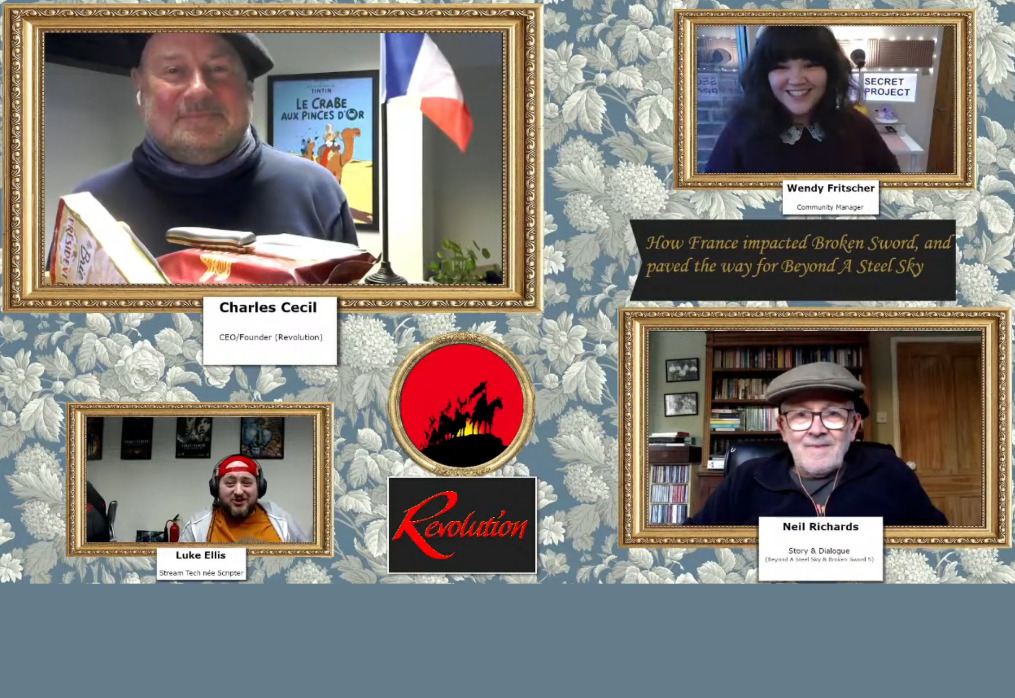
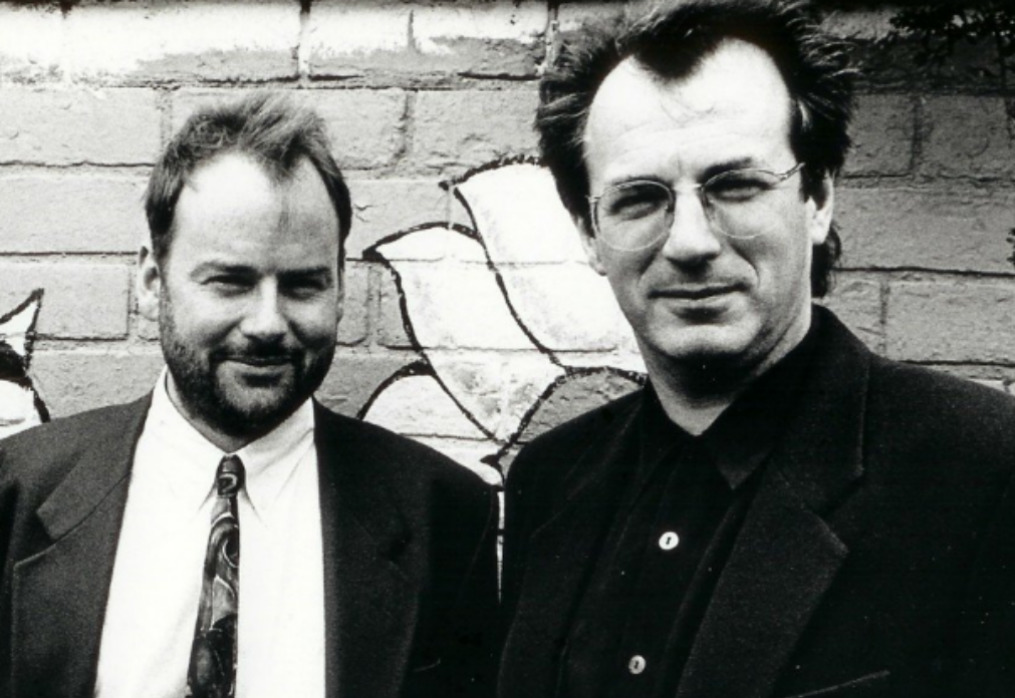
    Designed by Charles Cecil and Tony Warriner The first ever engine that allowed NPCs to wander around independently, and letting them have a life on their own.
    NPCs wouldn’t wait around for the protagonist in a static space, they had things to do! This was ground-breaking at the time, and we’re still quite proud of it. More about Virtual Theatre..
    Games we developed on Virtual Theatre:

    • Lure Of The Temptress  (1992)
    • Beneath A Steel Sky  (1994)
    • Broken Sword: Shadow of the Templars (1996)
    • Broken Sword II: The smoking Mirror (1997)

    MORE QUESTIONS? GET IN TOUCH VIA THE SUPPORT FORM ON THE WEBSITE!

    WALKTHROUGH BY ADVENTURE GAMERS | AUTHOR: TOM HAYES


    DUNGEON

    • Restart the game (this will make the tinderbox appear in the forge).
    • The game starts in the dungeon.
    • Get the torch on the wall and it will fall onto the straw bed.
    • Walk to the top-left corner of the room and wait for the Skorl guard to enter the room.
    • Quickly exit the room, close the cell door and then lock the cell door to trap the guard.
    • Walk through the right doorway.
    • Get the knife on top of the barrel and the bottle near the sack.
    • Use the knife on the sack and then look at the sack to find a groat.
    • Walk east and use the knife on the leather cord at the bottom of the rack to free Ratpouch.
    • Walk south.
    • Look at the barrel and then use the bottle on the tap.
    • Walk west and give the bottle to the prisoner.
    • Tell Ratpouch to push the bricks (he will push the bricks at the right side of the room and open a tunnel).
    • Walk east to arrive in the town.


    TOWN

    • Walk west, north, west, south twice, west, north, west, south twice and west to arrive at the Smithy Street.
    • Wait for Mallin (in the green coat).
    • Talk to him and say “Just tell me what I have to do.” to get the metal bar.
    • Walk through the doorway to enter the forge.
    • Talk to Luthern and say “I have recently escaped from the hands of the Skorl.”
    • He wants to hear about Goewin.
    • Get the tinderbox on the floor (the tinderbox will not appear unless the game has been restarted).
    • Exit the forge.
    • Walk east twice, north and enter the village shop.
    • Give the metal bar to Ewan to get a gem and eight groats.
    • Exit the shop.
    • Walk east and south.
    • Open the left door and enter the Magpie Tavern.
    • Give the gem to Nellie to get the flask.
    • Bribe Morkus at the table and then talk to him to ask him about Goewin.
    • Exit the tavern.
    • The next aim is to find Luthern, who will either be wandering around the town or will be at the forge.
    • Explore the town or walk to the forge (north, west, south twice and then west from the courtyard).
    • Talk to Luthern to tell him about Goewin.
    • He tells Diermot to talk to Grub.
    • Give the flask to Luthern and he will give the empty flask back to Diermot.
    • Return to the courtyard and talk to Grub at the well twice.
    • Say “What do you know about the Black Goat?” to get the lockpick.
    • Walk north and then west twice.
    • Open the door and enter The Severed Arms pub.
    • Talk to Edwina twice and say “Have you seen Taidgh?” to get the diary.
    • Open the door and exit the pub.
    • Walk east to the marketplace.
    • Look at the door.
    • Give the lockpick to Ratpouch and tell him to use the lockpick on the lock.
    • Open the door and enter Taidgh’s house. Examine the diary.
    • Look at the apparatus.
    • Use the tinderbox on the oil burner and then use the flask on the tap at the right side of the apparatus.
    • Exit the house. Drink the flask to transform into Selena.
    • Walk north and open the door and enter the town hall.
    • Talk to either Skorl to release Goewin.
    • Exit the town hall.
    • Walk east twice and open the door.
    • Enter the apothecary workshop and talk to Goewin to make the transformation spell start to break.
    • Talk to Goewin again and the poster will appear in Blackfriar’s Row.
    • Exit the workshop and then walk around the town until Diermot returns to his normal form.
    • Find Mallin in the town and talk to him.
    • Say “Yes, certainly!” to get the book (If you haven’t talked to Goewin twice, this speech option won’t appear).
    • Return to Blackfriars Row (one screen east from the marketplace) and open the door to enter the church.
    • Give the book to Brother Toby to get the statuette.
    • Talk to Toby twice and say “Can you help me to defeat Selana?”.
    • Exit the church.
    • Walk north and east.
    • Go through the doorway to enter Goewin’s workshop.
    • Talk to Goewin and say “Can you provide me with an infusion of herbs?”.
    • Say “Houndstooth, Cowbane and Elecampane.”
    • Say “I am going to use it on the dragon.”.
    • Exit the workshop.
    • Walk west three times and south twice. Get the cowbane from the flowerbed.
    • Walk north twice, east three times and then enter Goewin’s workshop.
    • Give the cowbane to Goewin and then wait until she has finished the spell.
    • Talk to her and say “Is the spell ready yet, Goewin?”
    • If the potion isn’t ready, wait for a few seconds and ask her again.
    • Exit the workshop.
    • Walk west three times, south and open the door.
    • Enter the pub and talk to Ultar twice to hear the gargoyle’s names.
    • Exit the pub and walk north.
    • Talk to either gargoyle.
    • They will not let a man pass through the gate.
    • Walk east three times.
    • Enter the workshop.
    • Talk to Goewin and she will agree to help.
    • Exit the workshop.
    • Walk west three times and talk to Goewin.
    • Go through the doorway to enter the cave.


    CAVE

    • Look at the left skull and the right skull.
    • Pull the right skull and walk west to the green cave.
    • Look at the left skull and the right skull.
    • Tell Goewin to go to the entrance cave and then pull the left skull and then pull the right skull.
    • Quickly walk west when the door opens to arrive in the blue cave.
    • Pull the left skull and wait for Goewin to enter the cave.
    • Tell Goewin to go to the green cave and then pull the right skull.
    • Walk west and save the game.
    • Walk north and defeat the beast by clicking the axe near Diermot.
    • Continue west to the dragon’s cave.
    • Use the potion on the dragon.
    • Talk to the dragon and say “I command you to help us!”.
    • Walk east three times and pull the left skull.
    • Walk east and pull the left skull.
    • Walk east and south to return to the town.


    TOWN

    • Walk around the town to find Mallin.
    • Talk to him and he will mention a Skorl guard that is acting suspiciously.
    • Go to the marketplace.
    • Wait for the guard to enter the shop and then look through the window.
    • Enter the shop and talk to Ewan.
    • Select either option when he offers the mushrooms.
    • Talk to Ewan again.


    CASTLE

    • Walk east to the kitchen.
    • Look at the carcass on the table and then get the fat from the right side of the table.
    • Get the tongs on the pillar.
    • Talk to Minnow twice and say “I’ve come for Selena.”
    • Say “Tell the Skorl there’s someone in the cellar.”
    • West to the wine cellar.
    • Look at the cask at the bottom-left corner of the room and then use the tongs on the bung
    • Walk behind the post at the top-right corner and wait for the Skorl to enter the room.
    • After the Skorl starts drinking from the cask, walk east twice, north and east twice to enter the gate room.
    • Use the fat on the lever.
    • Wait for Minnow to enter the room and then talk to him.
    • Tell him to pull the lever.
    • While Minnow is pulling the lever, operate the winch to lower the drawbridge at the top of the stairs.
    • Walk west three times and go upstairs.
    • Walk east and go through the doorway.
    • Defeat the beast and then walk west to complete the game.


    ITEMS

    • AXE
      Found in the beast’s cave.
      It is used when battling the beast in the cave and the beast on the drawbridge.
    • BOOK
      Found by talking to Mallin after Goewin has been released from the town hall.
      It is given to Brother Toby in the church to get the statuette.
    • BOTTLE
      Found near the sack in the guard room.
      It is used on the tap on the barrel in the guard room.
      It is given to the prisoner in the outer cell.
    • BROKEN GLASS
      Available after arriving in the town. It is not used.
    • COWBANE
      Found in the flowerbed outside the forge after asking Goewin to make the spell.
      It is given to Goewin in the apothecary workshop.
    • DIARY
      Found by asking Edwina in the Severed Arms pub about Taidgh.
      It is examined so that Diermot can understand the apparatus in Taidgh’s house.
    • EYE OF GETHRYN
      Found by talking to the dragon in the cave.
      It is automatically used when Diermot meets Selena at the end of the game.
    • FAT
      Found on the table in the castle kitchen.
      It is used on the lever in the castle gate room.
    • FLASK
      Found by giving the gem to Nellie in the Magpie Tavern.
      It is given to Luthern.
      After the diary has been examined and the tinderbox has been used on the oil burner of the apparatus in Taidgh’s house, the flask is used on the tap.
      Diermot can then drink from the flask to transform into Selena.
    • GEM
      Found by giving the metal bar to Ewan in the village shop.
      It is given to Nellie in the Magpie Tavern to get the flask.
    • GROATS
      One groat is found by looking at the sack in the guard room after using the knife on the sack.
      Eight groats are found by giving the metal bar to Ewan in the village shop.
      One groat is used to buy a drink when bribing Morkus.
    • LOCKPICK
      Found by talking to Grub in the Magpie Courtyard about the Black Goat.
      It is given to Ratpouch in the marketplace so that he can be told to use it on the lock of the door to Taidgh’s house.
    • KNIFE
      Found on top of the barrel in the guard room.
      It is used on the sack in the guard room.
      It is used on the leather cord on the rack in the torture room.
    • METAL BAR
      Found by talking to Mallin in the town.
      It is given to Ewan in the village shop to get eight groats and the gem.
    • POTION
      Found by giving the cowbane to Goewin in the apothecary workshop after asking her to make the spell.
      It is used on the dragon.
    • SPRIG
      Found after Goewin makes the potion in the workshop.
      It is not used.
    • STATUE
      Found by giving the book to Brother Toby in the church.
      It is not used.
    • TINDERBOX
      Found on the floor in the forge.
      After the diary has been examined, it is used on the oil burner of the apparatus in Taidgh’s house.
    • TONGS
      Found on the pillar in the castle kitchen.
      They are used on the cask in the castle wine cellar after Minnow has been told to call the Skorl.
    HOPE YOU FOUND WHAT YOU WERE LOOKING FOR AND BIG THANKS TO ADVENTURE GAMERS FOR THEIR  EXCELLENT WALKTHROHGHS!

    MERCH STORE

    Limited Edition Holiday jumpers & our classic shirts available now in our Merch Store!

    *Currently only available in the UK